![Posing with their UIL State Trophy, the Robolobos Van Halen Team beams with excitement after their win. “It was a team effort,” junior Noah Vo said. “I was happy because something happened in the first match and the match was also really close. So [when] they finally revealed it, I was pretty happy.” Photo courtesy of Amy Lovelace](https://cphswolfpack.com/wp-content/uploads/2025/05/IMG_0910-EDIT-1200x723.jpg)
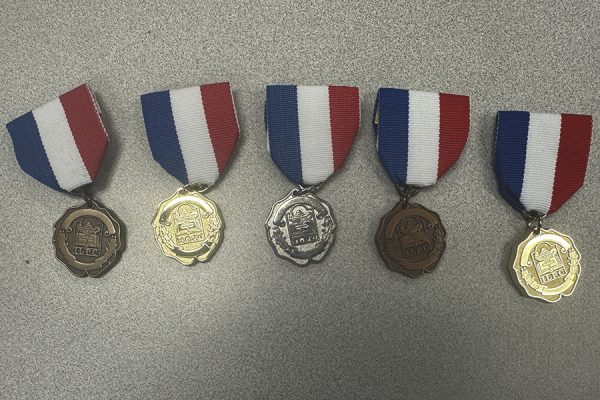
![Broadcast, yearbook and newspaper combined for 66 Interscholastic League Press Conference awards this year. Yearbook won 43, newspaper won 14 and broadcast took home nine. “I think [the ILPC awards] are a great way to give the kids some acknowledgement for all of their hard work,” newspaper and yearbook adviser Paige Hert said. “They typically spend the year covering everyone else’s big moments, so it’s really cool for them to be celebrated so many times and in so many different ways.”](https://cphswolfpack.com/wp-content/uploads/2025/05/edited-ILPC.jpg)


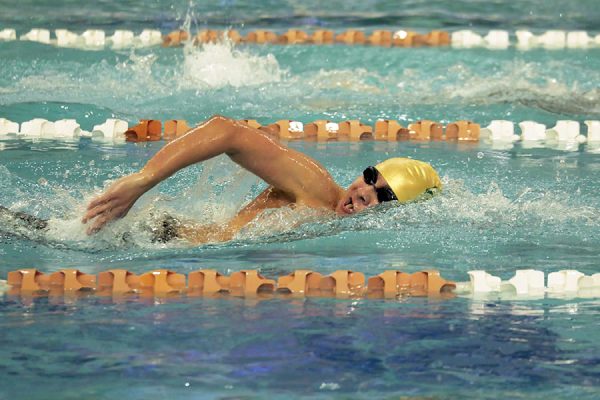
![Bringing her arm over her head and taking a quick breath, junior Lauren Lucas swims the final laps of the 500 freestyle at the regionals swimming competition on date. Lucas broke the school’s 18-year-old record for the 500 freestyle at regionals and again at state with a time of 4:58.63. “I’d had my eye on that 500 record since my freshman year, so I was really excited to see if I could get it at regionals or districts,” Lucas said. “ State is always a really fun experience and medaling for the first time was really great. It was a very very tight race, [so] I was a bit surprised [that I medaled]. [There were] a lot of fast girls at the meet in general, [and] it was like a dogfight back and forth, back and forth.” Photo by Kaydence Wilkinson](https://cphswolfpack.com/wp-content/uploads/2025/03/Kaydence-2.7-23-edit-2.jpg)
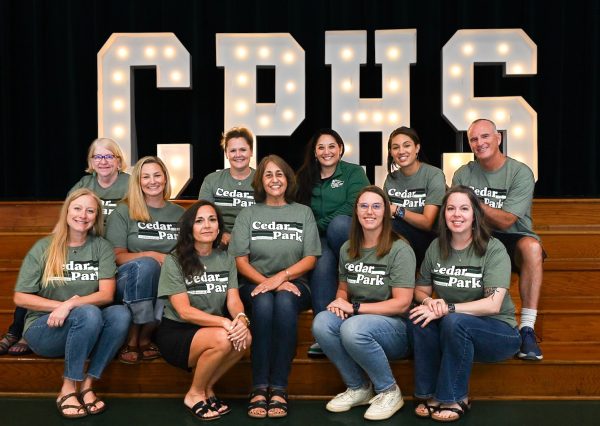
![As the support team sits and poses for a photo in the cafeteria with the counseling team they eagerly wait to start their day. "We [all] seem to be a team, I get up every day and there's days where I don't want to go to work today, but I'm thankful that I have a job and I'm blessed to have what I have," Christopherson said. Photo Courtesy of Julie Weltens.](https://cphswolfpack.com/wp-content/uploads/2025/01/AF9E8470-10D7-4C91-BF28-EC8F86BAB66C-1200x852.jpeg)
![Officer Stephanie Cash is in her second year as an SRO at CPHS. “Seeing [students] grow over the years has been kind of cool,” Officer Cash said. “Freshmen that [are] all over the place and then in the next couple of years get a little more squared away and go to class and do work and start thinking about the future. Being a part of a student's growth is the best way to measure my success as an SRO.” Photo Courtesy of Cedar Park Police Department's PIO, Alicia Gallagher.](https://cphswolfpack.com/wp-content/uploads/2024/12/CPHS-SRO-900x1200.jpg)


![Taking a breath as he raises his arm up and out of the water, sophomore Kaden Padilla swims the 500 freestyle at the UIL state meet on Feb. 21-22. Padilla placed 10th overall and second in the consolation final in the event, dropping two seconds. “My family was there, so being able to drop time for them was really special,” Padilla said. “It was awesome [finding out I advanced to the consolation finals]. I wasn’t expecting it, and I was very surprised. My parents being there definitely made me a lot happier knowing they got to see me swim in finals.” Photo by Skyler King.](https://cphswolfpack.com/wp-content/uploads/2025/03/kaden-padilla.jpg)

![Three defenders try to stop senior point guard Hope Edwards before the ball leaves her hands. The girls basketball team faced Liberty Hill on Feb 21, losing 58-40. “[My season was] definitely bittersweet,” Edwards said. It's definitely sad [because] I'm gonna miss all my teammates, my coaches and just the whole CP environment.”](https://cphswolfpack.com/wp-content/uploads/2025/03/julia-128-1200x800.jpg)


Dying For Details
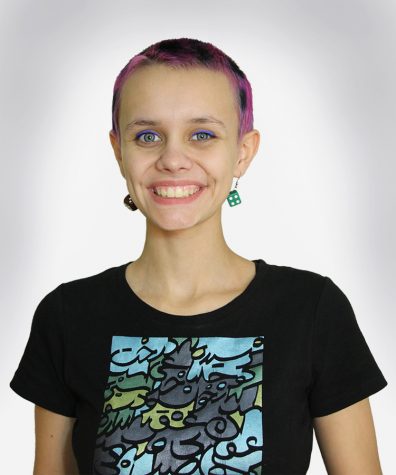
A Look Into a Junior’s Hair Dye Process
November 29, 2017
I’ve been asked all questions- how often I dye my hair, what will be my next color, how I do it myself. To someone who is not used to dying and bleaching hair on a regular basis, I see how it could be confusing, but it is actually fairly simple.
When I started off dying my hair, I did so cautiously. That did not mean I avoided bright pinks and blues, however I always felt the need to photoshop myself beforehand just to make sure I wouldn’t look completely terrible. When I dye it, of course I want it to look good. However, what many may not realize is that this is one of my many modes of expression. Whether I look good in tennis ball colored hair or not, I dyed it that way for the experience and to help express how I was feeling at that point in time. So, even if it does not make me look great, I still feel great.
 People treat me like I am some hair expert, they say things like, “Oh so you want to be a hairdresser?” Thing is, I actually only know what I can learn off a Youtube video in a span of 10 minutes. Hair is a difficult thing sometimes, in the sense that if you bleach black hair it could turn orange. That can be quite intimidating, even to me. However I think it’s fun to experiment and the more weird things I do with my hair, the more knowledge I gain of how hair works.
So you may have seen my recent hair dye job- the one that (according to at least three people in each of my classes) looks like Cruella de Vil, Sia or even “Eleven gone mad” from Stranger Things.
I took a couple time lapses of the basic steps needed to achieve the hair I have right now.
Step 1: Reshave
By the time I get around re-dying, my hair is most likely longer than I want. I’ve been into the shorter buzz lately, which is the same length mostly all around. If you are curious, I used a size four guard on the sides and a five on the top.
Shaving it seems scary, however really the only concept is to use a larger guard for the top and smaller for the sides- that’s all I need to know to get by. If you don’t know, a guard is a piece of plastic that you attach to the hair clippers. It determines how much hair will be cut off when you put it on your hair. My clippers were about $15 from Walmart, they were from the Wahl brand.
I always keep a chunk of the hair that I shave off and put them in Ziploc bags to remember all the colors I’ve had. It seems odd, but I love looking at the exact color I had months ago.
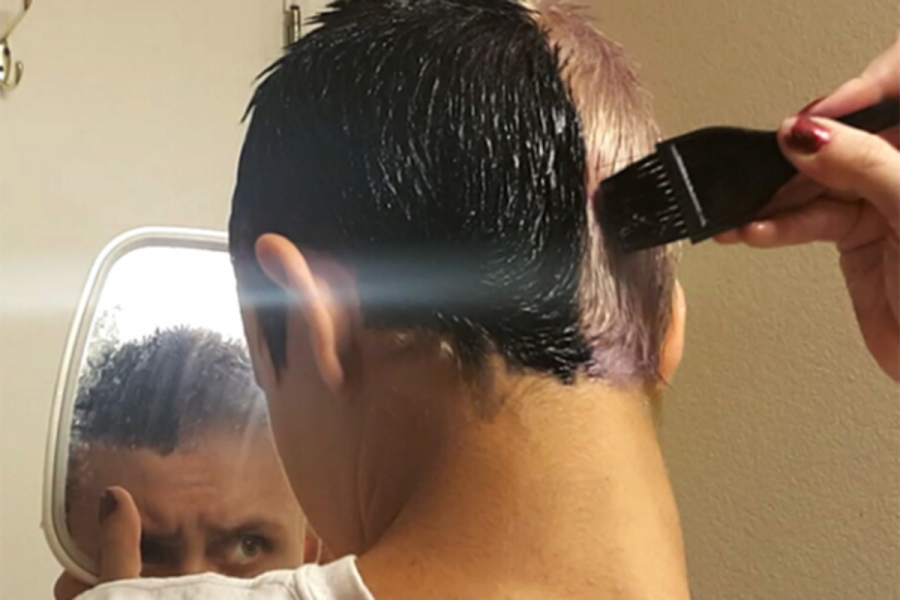
Step 2: Bleach
Bleach is not healthy for your hair, not in the slightest. It goes into your hair and reacts with the melanin (color). It actually oxidizes the melanin, making the hair ultimately colorless.
I may seem like a hair expert when I talk about melanin and all that, but to be honest, before I made the Google search, “How does bleach in hair work,” I would’ve just told you it takes the color out. See, you can be just as uneducated as I am.
Now everyone tells me that bleach damages my hair and that I should care more about my health and all, but it is just hair. To those with longer hair, I understand that there is a bigger commitment in experimentation. However for me, if I mess up I could shave it off within a few weeks, bleach, or re-dye it. Because of my hair’s short length, my hair being dead is not much of an issue.
So the bleach. It comes in a large container from L’Oreal called the “Quick Blue Powder Bleach” which comes in packets or the one pound tub that I buy. Bleach comes in a powder form, so you must mix the powder with roughly a 1:2 bleach to cream developer ratio. Developer basically makes the bleach work on hair. I use the Salon Care 20 volume developer from Sally Beauty (most of my stuff is from there). Depending on how dark your hair starts, the higher volume of developer you need to use (they come in 10-40 volume).
After mixing the two in a hair dye bowl that you can find at Sally’s as well (or use any bowl really), I get a dye brush and cover my head in the bleach, making sure all of the strands are covered. At first my plan was to go blue with specks of other colors, however my plan changed along the way to black and white. That happens a lot actually. My mom always comes by the bathroom asking what color I’m doing and I tell her that I don’t know. Whatever feels right at that moment I’ll go with, and often it’s not just one color, so I think my mom needs to rephrase her questions.
After putting the bleach on, I wait about 30 minutes with my hair cap on. Before waiting around, I blow the hair dryer in the cap to make it warmer in there because humidity helps with the process, so I’ve heard. I was bleaching from dye which is harder than bleaching from my regular hair color, or browns in general. This meant I had to keep reapplying and waiting for a good blonde color. The dye I use now is called Special Effects and is pretty strong, especially the pinks. I get it off amazon for around $13.
Step 3: Toning and Dying
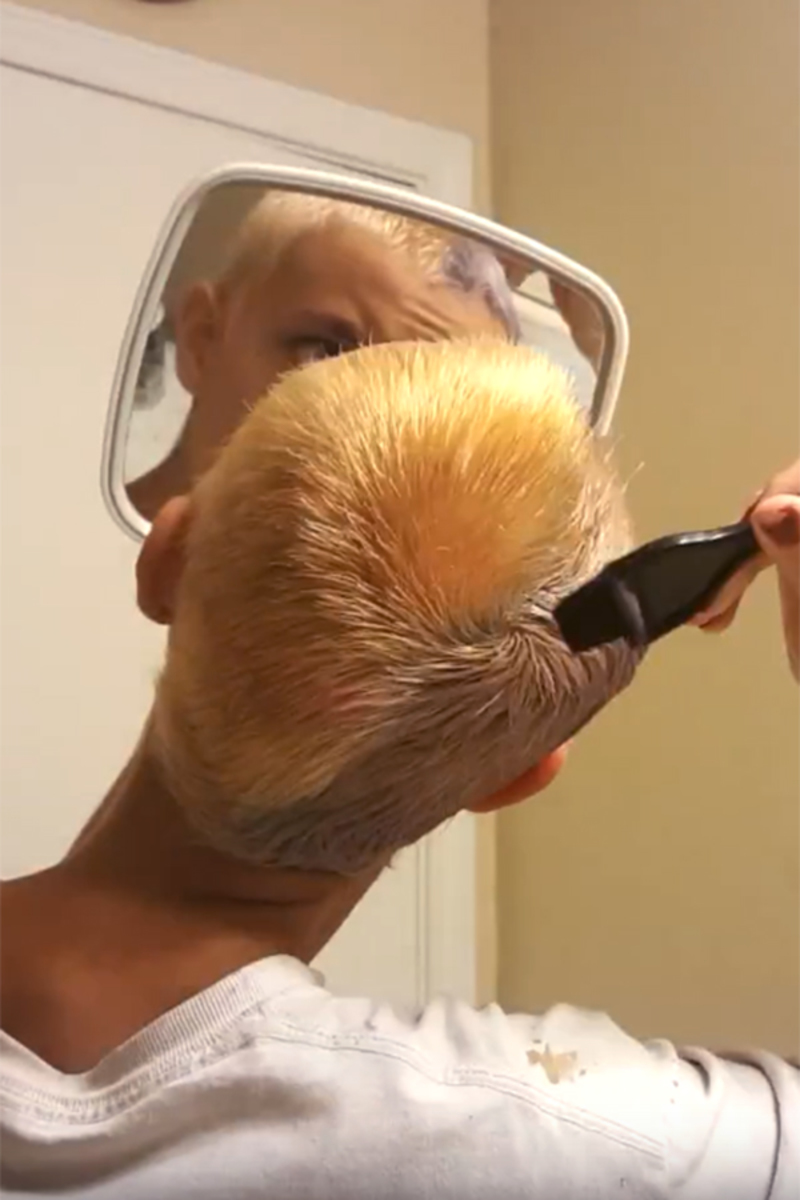
Toning is something that I had never done before. When you bleach your hair, it does not turn a beautiful white color as you may think, but instead a gross yellow color. Because I wanted white on one side versus covering up the bleach with a colorful dye, I had to do something called toning. This is when you must put in a product that puts purple chemical in your hair, which evens out the color and takes out the brassiness of the yellow. I used the Wella Color Charm Toner in T18, which is supposed to give you the “lightest ash” tone. This was the most painful thing I have done to my hair, however once it’s on and the burning comes, you got to do what you got to do.
I only toned half of my hair because the other half would be dyed black. After it was on, I waited about 45 minutes then washed it out. It took about two tries before I got my desired color.
Now for the dying, the easiest part. Many people asked how I got the straight line down the middle- a magic marker. I took a blue marker to my bleached hair and drew a line down the center, then I got my black dye (Color Charm gel in the color black)
After mixing the dye 1:2 with developer, I put it on the half of my head and waited about 30 minutes. It scared me that it’d be too black or look odd, but this is all about taking risks.
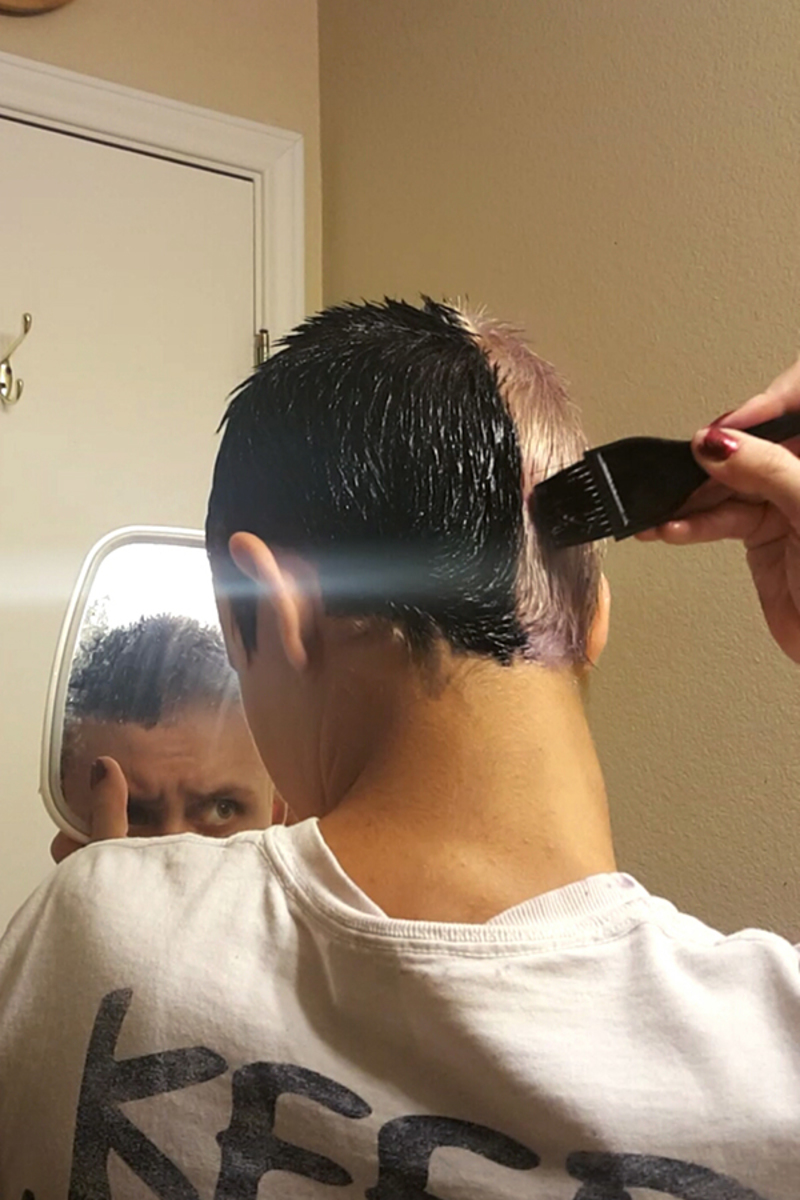
This turned out to be my favorite hair yet. Not only do I like the look, but it’s so easy to maintain. I can wash it and it hardly even fades because 1) black is a very strong and natural dye color and 2) bleached hair can’t fade at all. I’m glad I took a risk and decided this, even though it was a very last minute decision.
So maybe you are considering a hair change for yourself.
I encourage everyone to take risks in their self-expression. You have to realize that people will always expect something of you and one of the most valuable lessons is learning to stray away from those expectations.
Killing your hair with bleach won’t get you a life sentence for murder; it will give more than just a sentence. Taking these risks will give you a story- a story of how you got bleach on your pillows or went with it when you accidentally shaved part of your hair off. So I would suggest evaluating why you do what you do, in everything. If you want long, brown hair, I support that decision. If you want rainbow hair, I support that just as well. Just keep in mind this: self-expression is about what you want, not what anyone wants of you.


![Whereas classical art depicts a scene and tells a story, often of mythology or religious references, artists of modern times focus more on expressing ideas and feelings. The style of back then has since been replaced by splashes of color, curvy lines and other new art techniques. "[Over time] I think art has shifted more to emotion rather than human beauty, " sophomore Braeden Murray said. "Modern art is significantly more abstract and doesn't have an obvious theme in mind. Very simple shapes, no people to be seen, and more colorful. I think in the older [time period] the art was definitely more human based, with biblical [references] while modern art is more emotion based because it's not depicting a particular scene or action that's happening.”](https://cphswolfpack.com/wp-content/uploads/2023/02/2023-vs-1503-300x200.png)